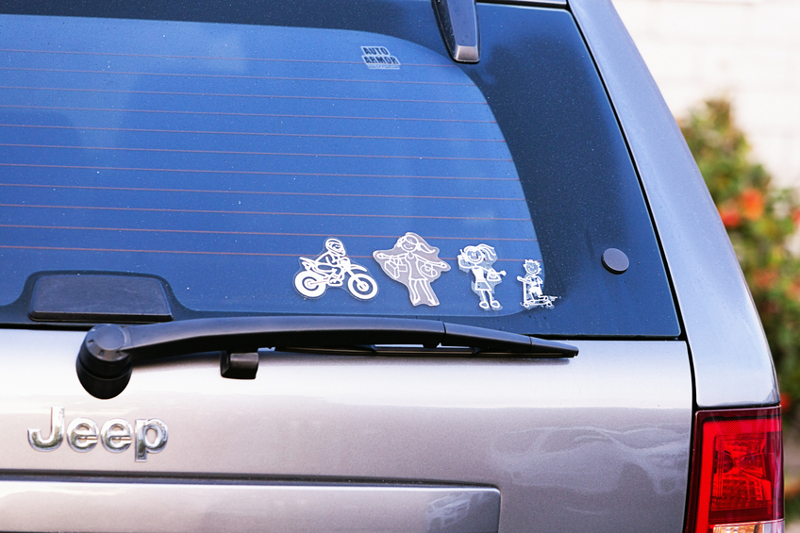
Many carwashes sell novelty items and c-store related goods. One product that many carwashes sell in their line of merchandise that customers love are car decals.
Applying car decals or stickers can help your customers transform the appearance of their vehicles. Many locations can be applied to show support for their favorite sports team, represent interest in a specific field and help to advertise a business. Car decals or stickers can add a personal touch to your customers’ vehicles.
The process of installation and removal of car decals or stickers may be complicated but there are some steps you can follow to make the process easier.
Let’s start with the five application tips to help make the job of applying car decals easier.
Clean the surface before installing car decals
Educate customers on applying car decals. They should first clean the area where they want to apply the decal. If you apply the decal or sticker on a dirty surface, it will pick that dirt and grime up. So make sure the area is clean where you want to put your sticker or decal.
You can use soap or rubbing alcohol and water to clean the area. Glass cleaning products should not be used because many will leave a residue behind and will prevent the decal from adhering.
Decide on the location for the car decal
Before installation of car decals, customers should be certain about the location. Various options include the bumper, windows and other interior and exterior surfaces to give a stunning look to your customers’ car. Tires are another place to put decals which make the car look more attractive. To add a more personal touch and to give a modern look to your customers’ cars, install new tires and top them off with personalized decals.
When you have an idea about the area, stick it to the car with electrical tape so you can step back and see how it looks. You can move the position of it if you do not like. Once you have an exact place, you can install the decal.
Peel the backing film away from the decal carefully
Peel the paper backing off the sticker. During this process, make sure not to touch the back of the decal because it could leave the dirt on your decal’s backside.
Position the graphic precisely
Place one side of the decal down and smooth it out to the other side until the decal is fully placed. It is important to remember not to remove the backing fully. Remove one-third of the backing and start to apply one-third of the decal to the area. Then slowly pull more of the backing until you have fully installed the decal.
Trim around any obstructions and remove bubbles
After applying the decal on the car you can trim around any obstruction and fenders with a razor blade. Make sure you keep tension on the film and remove bubbles by puncturing them and squeegee the air or water out through the hole.
Five-step process to remove car decals
Car care professionals will often encounter old decals and areas where decals used to be. Below are the steps for safe and effective removal of old decals.
- Clean the decal or sticker and the area surrounding it. To clean the decals or stickers, you can use soapy water and a cleaning cloth. Clean the area around the decal or sticker properly where you want to remove so that no grit or grime interferes with decal’s adhesive-busting ability.
- Warm it up. To remove the decal or sticker, heat it with a hair dryer. It will help to release the adhesive in the back of the decal and allow pulling it up with ease. You can also use a heat gun in this instance but it may damage the car’s paint. A hair dryer is the best way to heat it up because it is less powerful than a heat gun.
- Scrape up under the sticker. When the decal or sticker is heated up, you can scrape up under the sticker with a plastic card at an angle and begin to peel it away. You can also use your fingertips and razor blade back to peel it away. But one important thing you should remember is do not use a razor blade or box cutter on car’s paint because it may damage it.
- Use glue removal products carefully. You can use a dab of goo removal applied to a clean microfiber cloth and rub it on the glue residue. Let it stand for one minute to absorb and then remove the residue off with soapy water. It is necessary to repeat this process until the entire glue residue has come off.
- Finally wash again to remove any remaining dirt. The final step is to wash again, dry and wax the whole area to ensure proper removal as well as surface protection.
Simon Leggett is a mechanical engineer. He has been analyzing the auto industry for over 10 years. He helps in the integration and development of forecast-orientated automotive data to the electronic product portfolio.